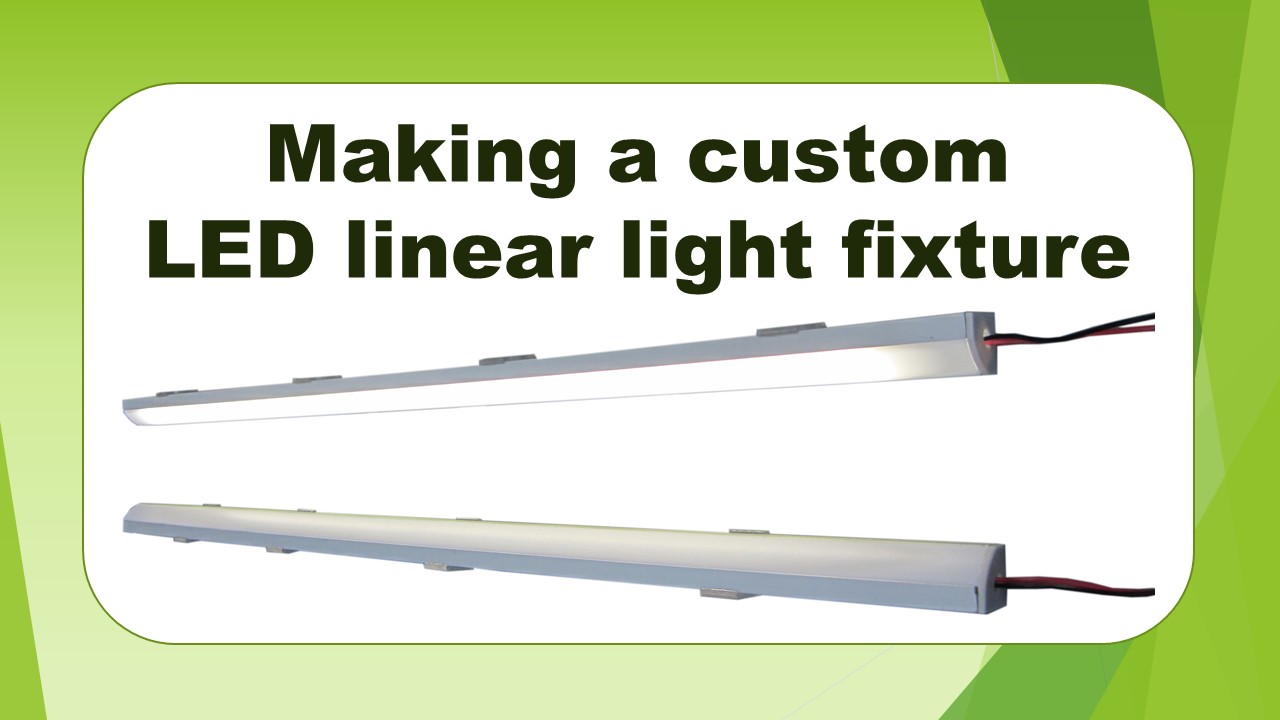
Make your own Linear LED Fixture
Many do-it-yourself lighting projects can be accomplished with low voltage LED flex ribbon. Adding an aluminum rail with diffusion lens to your LED ribbon creates a finished look. Choose your rail and your 12V LED ribbon for the fixture that you want to create.
EQUIPMENT NEEDED
LED Ribbon, Channel rail & mounting clips/screws, wire nuts, power supply, tape measure, sharp scissors, hacksaw, vise or clamp.
STEP 1 – Cutting LED Ribbon
- Measure the length of your desired fixture.
- The LED ribbon can be cut with sharp scissors.
- Only use the cut lines indicated on the ribbon.
STEP 2 – Cutting Channel Rail
- Mark the length of your fixture on the aluminum rail and lens pieces.
- Using a hacksaw, cut on the flat underside of the aluminum piece, stabilized with a clamp or vise.
STEP 3 – Cutting Lens
- Use the same procedure for the plastic lens.
- Be sure to cut on the flat surface of the lens.
STEP 4 – Mounting the LED Ribbon in the Channel
- Peel back the protective paper from the sticky side of the LED ribbon.
- Lay flat onto the aluminum rail with the wires poking out of the edge.
STEP 5 – Capping the Channel Rail
- Snap the plastic lens onto the aluminum rail.
- Feed the wires through the endcap with the hole on it Put the solid endcap on the other side.
STEP 6 – Wiring the Power Supply
- Use wire nuts to connect the LED flex wire to the 12V power supply.
- Be sure to maintain polarity in the wires – positive to positive and negative to negative.
Custom LED Fixtures are ideally suited for applications including:
- Under Cabinet Illumination
- Bathroom Mirror & Vanity Lighting
- Cove & Recessed Lighting
- Office & Task Lighting
- Exhibition & Retail Cases
SELECTED ALUMINUM RAIL VARIETIES FROM JKL
- Regular Rail – ZFC-17 – Low profile option with metal or clear mounting clips available.
- Corner Rail – ZFC-18C – Corner mount design with metal or clear mounting clips available.
- Recessed Rail – ZFC-21 – Recessed model for steps and cabinetry.
SELECTED LED RIBBON VARIETIES FROM JKL
- Standard LED Ribbon – ZFS-8500 – Offers standard intensity. Available in Cool, Warm or Neutral White
- High Density LED Ribbon – ZFS-85000HD – Tightly pitched LEDs for high density light. Available in Cool White, Warm White, Red or Blue.
- RGB Adjustable LED Ribbon – ZFS-10504-RGB – Offers RGB color changing, pair with the ZCTR-6 RGB Controller